How to Trim a Short Beard Like a Pro
Updated 12/18/2024
I've spent a few years figuring out the perfect beard trimming routine for myself, for my beard, and for the look that I want. And today, I'll show you exactly the routine that I go through to get a consistently faded and tapered-looking beard, and hopefully to inspire you to create a grooming and trimming routine specifically for yourself—one that gives you the exact beard look that you guys want that makes you look and feel amazing.
Before I go on, I want to point out a few things:
How often to trim your beard
I trim my beard every week, so all I'm doing is trimming off a week's worth of growth and tightening it up and shaping it. I created this routine so I can keep my exact same look and have it be very consistent day-to-day, week-to-week. This is a routine that you guys can follow and get the exact same consistent look that you want.
3-step grooming
I follow our 3-step beard grooming routine to really groom my beard as well as possible before trimming.
Have a simple trimming routine
Keep your beard trimming routine simple. If you don't have one yet, you'll want to create your own using specific trimming guards that get you the exact shape you want and that will make you look and feel your best.
Jump To:
What You'll Need
Before we get started, here are the tools you'll need to trim your short beard.
- Beard trimmer with trimmer guards
- Comb
- Razor (straight razor or electric straight razor are fine)
- OPTIONAL: Handheld mirror
MT-1 Beard Trimmer

First thing you need is a great beard trimmer.
I recommend the Live Bearded MT-1 Beard Trimmer. The MT-1 is critical for me in my beard trimming routine because it has tons of different guards for trimming and fading. It's a great trimmer for short beards or beards of any size.
Comb
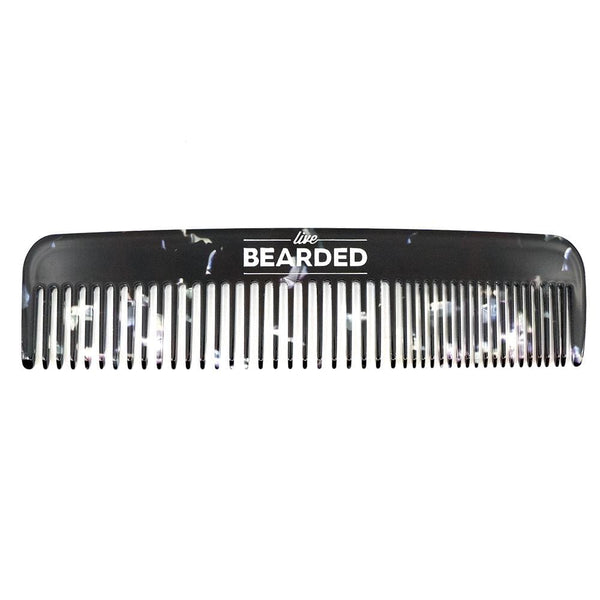
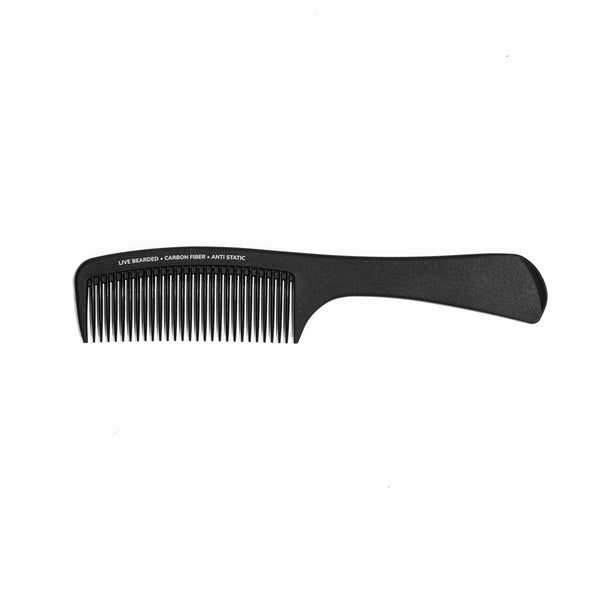
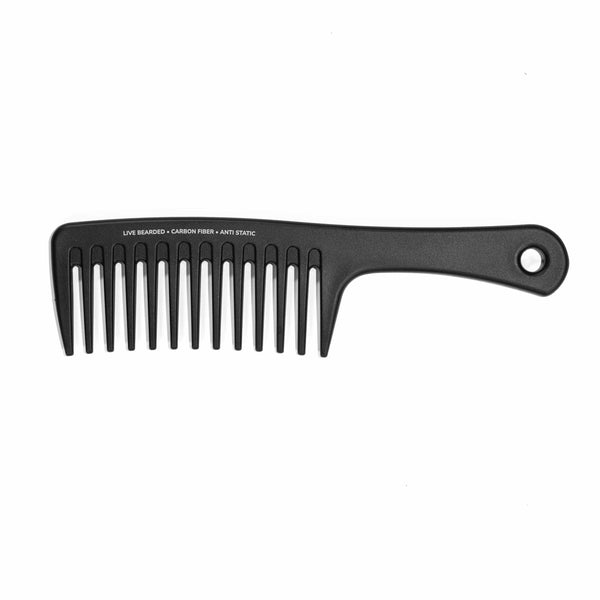
You gotta have a good comb to brush out the beard clippings and keep your beard consistently lined up.
Razors

If you have sensitive skin like I do, a straight razor may not be a good razor to use to trim your neckline. Instead, try an electric razor or hybrid razor like a Philips Norelco OneBlade electric trimmer / razor. Using a razor like this helps to line up the trim on your neck, get the shave really, really close and make your beard trim look tight.
I personally use this because it's easy to use and less irritating on my skin.
Handheld mirrors
Handheld mirrors really help getting through difficult spots, like the back line and the connection of the bottom line to the back line, since these spots have weird angles that can be difficult to line up perfectly.
Before The Trim
Now that you've got your tools ready, follow our 3-step grooming process to prepare for your trim:
- Wash and condition your beard
- Apply your oil, butter and/or mustache wax (for those that have handlebars)
- Fully dry your beard. If you use a blow dryer daily, make sure you go through that entire process before trimming to ensure you get an accurate cut.
Getting Started
You're going to need to trim in three stages: the sides, the front/middle, and the bottom/neckline.
For the first two stages, fade the sides into the middle; then in the third stage, trim up the neckline, tighten up the edges, and make it look fantastic.
For me, I start with the front first. But you can rearrange these stages in any order you choose to make it work for you and the look you want.
Stage 1: Trimming The Front
Using a 15mm guard, start your trim in the front, which will give you about a couple of inches in length.
When you start in the front first, it shapes the length of the front and helps blend all of the sides to the front to give you that great look and shape.
Contour your beard
 |
 |
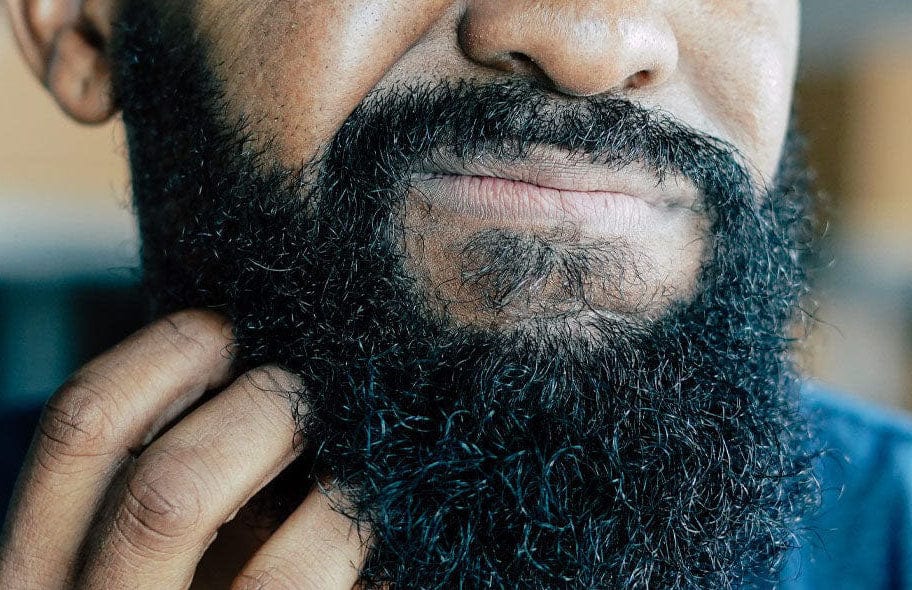
For me, I like having my beard to have a rounded point—not super sharp, but contoured to look like my natural jawline would look. To get this look, trim straight down from the front and up-and-out from the neck and chin.
💡 PRO TIP: Don't trace your exact jawline on the way up or down if you want to contour your beard, because that can make your beard look uneven.
Stage 2: Trimming The Sides
Start with a 12mm guard to trim the sides and blend them with the front length.
Then, trim the top part of your beard with the 9mm guard—starting from your left cheek, across your mustache, and then into your right cheek.

This technique makes that top part consistently the same size, and it creates that thicker, fuller beard, giving you that ultimate tapered look that pulls everything forward.
What's tapering? It's blending shorter lengths into longer areas to get that natural fade.
💡 PRO TIP: Trim against the grain using an upward motion to get the tighest cut possible.
Don't forget the 'stache!
To have your mustache be a little bit shorter, use the same guard as you would on your sideburns and on the back part along the mustache. In this case, it would be the 9mm guard.
Stage 3: Framing and Edging
Edging the beard
Use a straight edge of your beard trimmer to make your lines solid and frame out the edges of your beard.
Because the edges are hard to see, use a handheld mirror to frame and line up your beard edges. Pulling the edge back also helps line it up easily and quickly.
💡 PRO TIP: Take it slow in this step. If you freehand this step, know that it does take practice but eventually you'll get there and know exactly how far to go.
Trimming and lining up the mustache
When you're trying to line up and trim your mustache, use your lip as a guide.
If you're using our MT-1 trimmer, you can put its blade right on top of your lip and just slide it across the top of your mustache to make sure it's contoured directly to your top lip. Doing this will help make your mustache perfectly lined up and not worry about having a zigzag mustache.
🤩 FUN FACT: One of the nicest thing about the MT-1 is that you can literally just rest the little piece of metal right on your lip. It won't cut your lip, making trimming mustaches easier.
Setting the neckline
Think of setting your neckline like two lines coming together.
Imagine a beard comb as a line. Create a line that comes across from one side, and then a line that comes across from the other side, and then round it out in the middle. This will help create a consistent line across your neck.

Start with your trimmer and go right above your Adam's apple. Set the line starting from the side, coming across towards the front, and stop in the middle. Then go to the other side and repeat the same process.
Next, use your razor to tighten up your line, making sure it's really sharp and straight, and it lines up from the point of your jaw to the front and vice versa.
💡 PRO TIP: Inflate your cheeks a little bit, or move your face around, in order to get more of a cleaner line.
Don't go too far up too fast when you're setting your neckline. Start a little bit lower, set the line, and then tighten the trim. Otherwise, you'll have to wait for your beard to grow back.
Remove flyaways and start shaping your beard
You can remove the flyaways just by freehand using the MT-1 or your choice of razor.
When it comes to shaping your beard, do you want your jaw or the bottom of your beard to be flat, like a squared look? Or do you want your beard to be more of a pointed look?
Whatever look you choose, removing the flyaways first and then shape your beard to the way you want it to look.
Final Thoughts
Having a simple grooming and trimming routine can really make a difference in how your beard looks. And after years of trial and error, I've perfected my trimming routine for my beard and the style I want to have, and I hope this video inspires you to create a routine that you and your beard can be proud of.
So, if you want to always look and feel your best, I highly recommend checking our products out, starting with the MT-1 Beard Trimmer. It makes trimming simple and has every guard you need to get the look you want. We also got your back with a 365-day money-back guarantee in case you change your mind!
Our Mission is to help Beardsmen look, feel and be their best.
We created this company for one reason, and that was to support our bearded brothers out there.
If you need anything from us—beard tips, advice, or anything at all—don’t hesitate to reach out to us at support@livebearded.com anytime.
As always, Live Bearded, Brother!


